To better explain the Policies feature of gPanel, it's easier to think of them as "Custom Automatic Jobs." They can be used to automatically add/remove users from groups, change Gmail settings, or move users into different org units. Additionally, you can have policies run on specific users, all users who are members of a group, all users in an org unit, or users in a specific gPanel role.
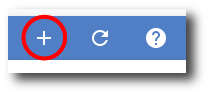
1. Navigate to Tools > Policies. Then, click Add in the top right corner.
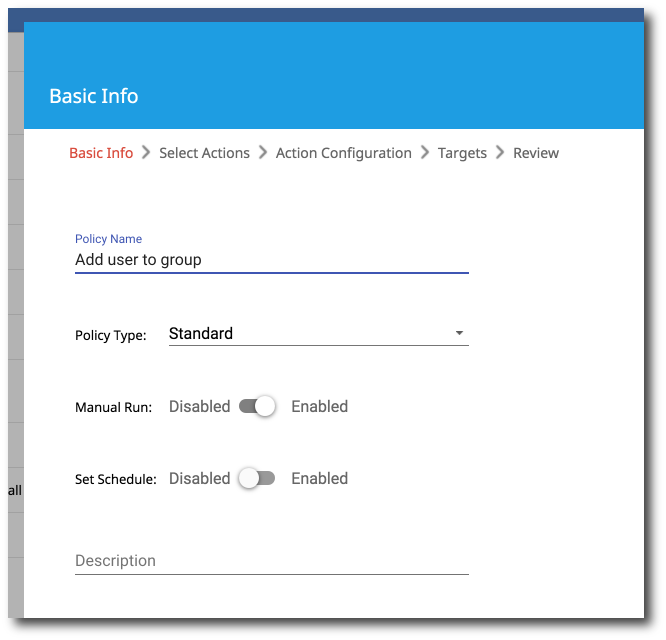
2. The policy configuration window will be displayed beginning on the Basic Info screen. Here you will enter the following information:
-
Policy Name: Desired name of the configured policy.
-
Policy Type:
-
Standard Policies are general policies that can be configured to run either manually or on a schedule.
-
New User Policies will only run when you create a new user. See create a new user policy for more details.
-
-
Manual Run: Enable manual run if you want to manually decide when to run the policy.
-
Set Schedule: Enable set schedule if you want to set a schedule for the policy to run automatically.
-
Description: Provide an optional description as to what the policy is configured for.
Once you have configured the basic information, click Next to proceed.
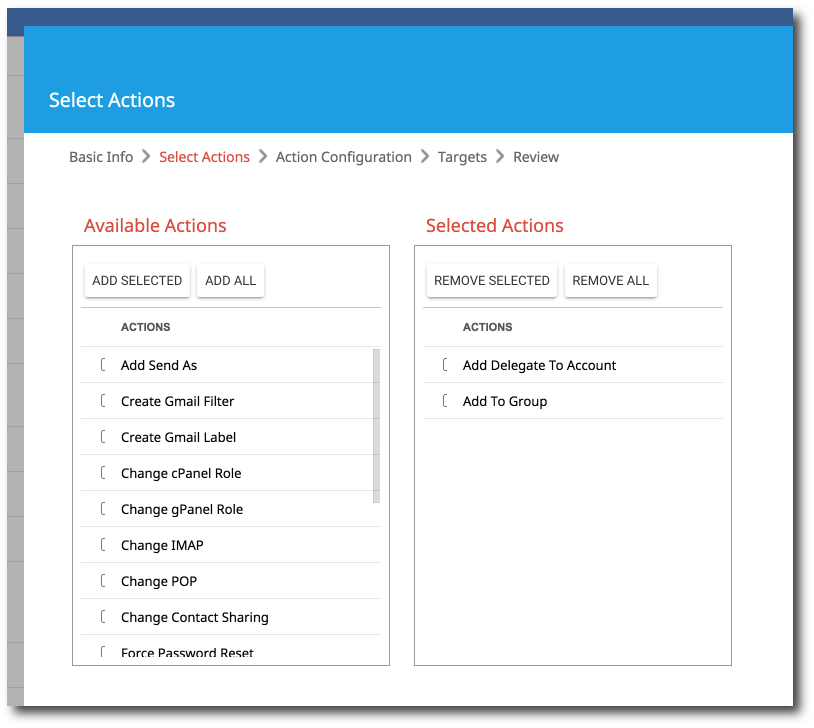
3. Next is the Select Actions screen. From here, select the desired actions for the policy from the list of available actions.
Once you have selected all of your actions, click Next to proceed.
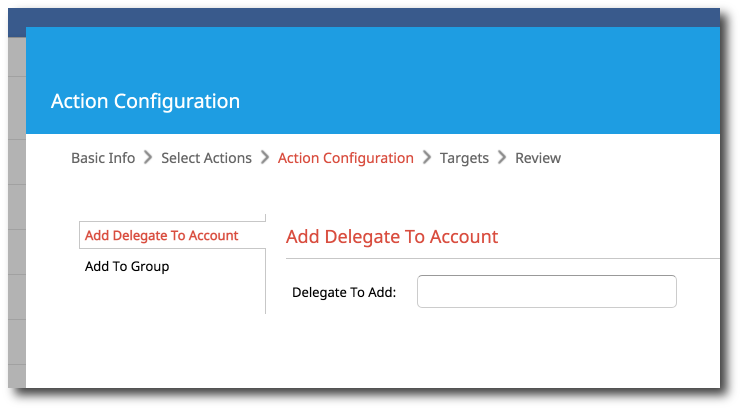
4. In the Action Configuration screen, you will configure the actions you selected in the previous step. In the example below, for the Add Delegate to Account action, you would enter the email address for the desired delegate. Then, you would click to Add to Group and configure that action.
Once you have configured all of your selected actions, click Next to proceed.
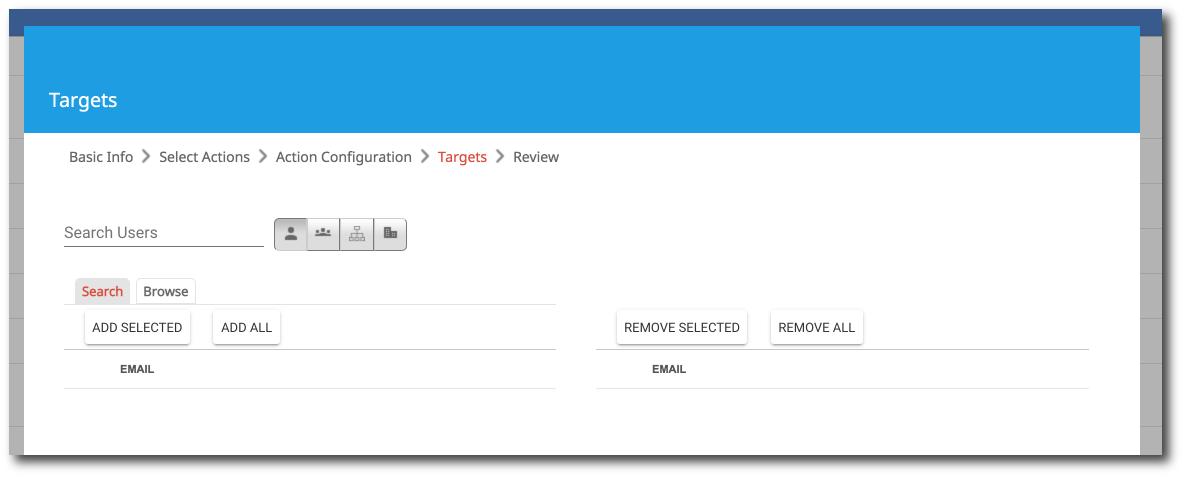
5. Next, select the target users to apply the Signature Template to. Type the desired user, group, org unit, or domain in the search box and a list will appear. Click either Add All to add the entire list or Add Selected to pick and choose specific line items.
Once you have configured all of your target users, click Next to proceed.
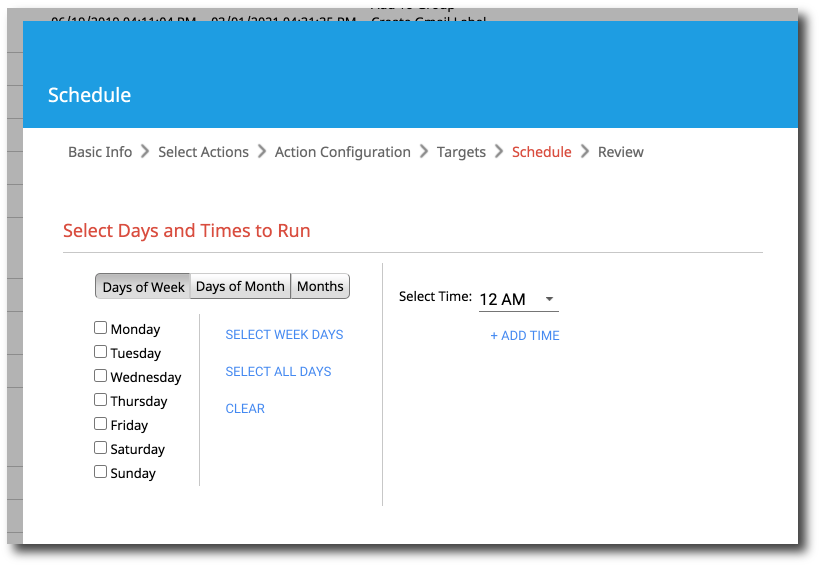
6. If you selected the policy to have scheduling enabled in the previous step, the Schedule screen will display. Select either the days of the week, the days of the month, or Months you would like the policy to be run. Then select the time of day the policy will run from the drop-down menu. You can add multiple times for it to run by clicking +Add Time.
For example: If you wanted to run a force password change policy on the first of the month, but only every 3 months, you would select the 1st of the month in Days of the Month, then which months you wanted it to run under Months.
Once your schedule is configured, click Next to proceed.
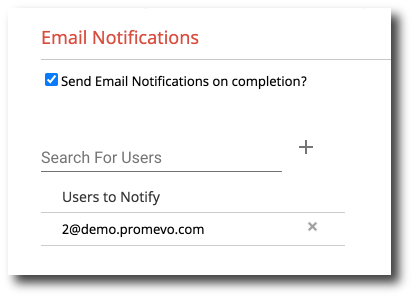
7. The final step is the Review screen. All of the information about the new policy will be displayed.
If you would like to send email notifications after the policy has run, check the box next to "Send email notifications on completion?" and enter the user(s) that should receive the notifications.
Once you have reviewed the information, click Submit to create the new policy.