The User Profile operation allows you to modify account and profile information for multiple users in one bulk job.
Set up user profile operation
1. In gPanel, go to Tools > Bulk Operations. Then, click Add in the right corner.
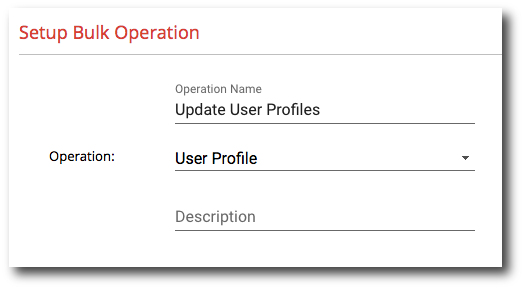
2. Enter the operation name, select User Profile as the type, and enter a description (optional). Then, click Next.
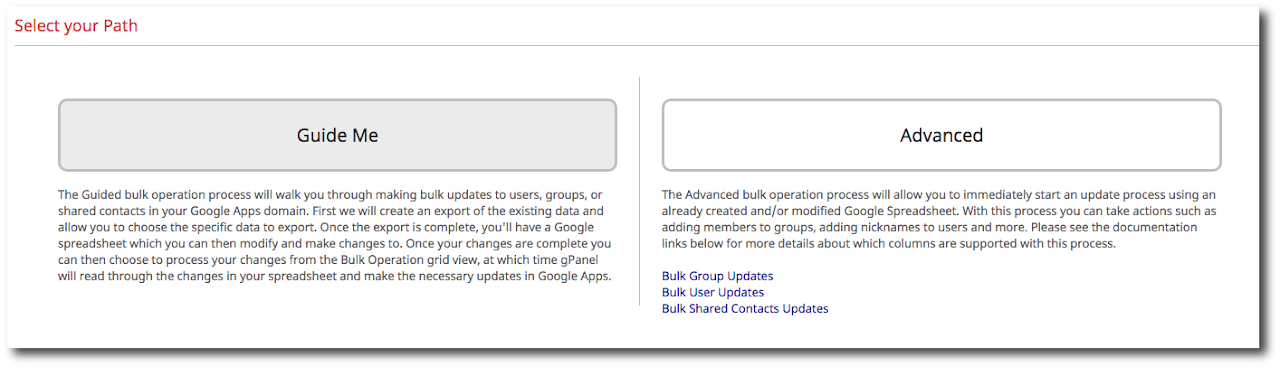
3. Select your path by selecting either Guide Me or Advanced.
Guide Me: The Guided bulk operation process will walk you through making bulk updates to users, groups, or shared contacts in your Google Workspace domain.
Advanced: The Advanced bulk operation process will allow you to immediately start an update process using an already created and/or modified Google Spreadsheet.
4. After you select your path, click Next. If you selected the Guide Me path, continue on to the next step. If you selected the Advanced path, skip ahead to the Advanced path section.
Guide me path
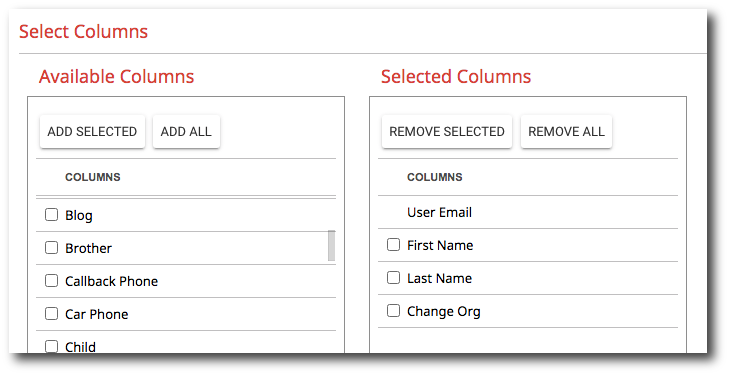
1. From the Available Columns list, select those columns you wish to have in the spreadsheet template you will use for the import. Once you have selected the columns you wish to modify, click Add Selected. Note: User Email is added by default. This is required for the import and must not be edited.
2. Once the columns are added click Next.
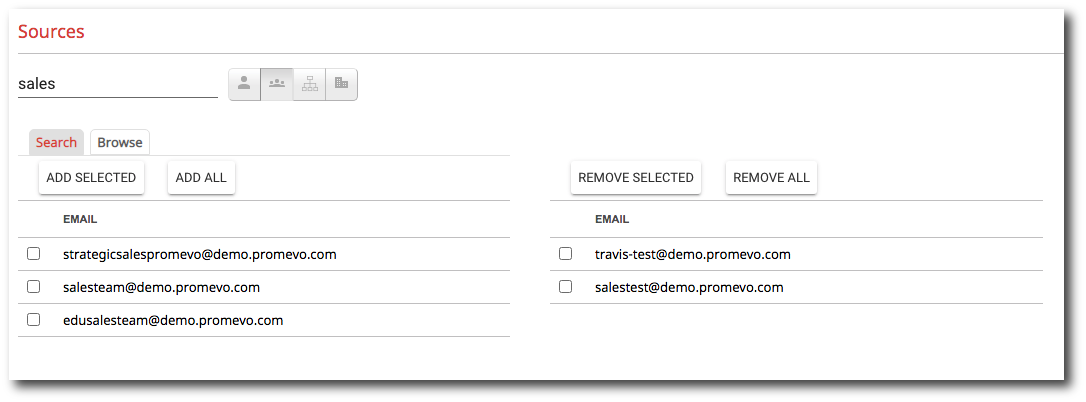
3. Select the source groups for the bulk import, then click Add Selected. As you type in the search field, potential matches will populate in the sources list below. Alternatively, by selecting the Browse tab, you can select the sources from all of the options available in your domain. Click Next when your selection is complete.
4. The final step allows you to review your configuration choices. Select whether you'd like to send email notifications on completion. You can add users to notify by entering their name in the text box, selecting the user, and then click the + icon. If you don't want to send email notifications on completion, uncheck this checkbox.
5. After you're done reviewing click Submit to create the spreadsheet template that will be used for the import.
6. After clicking submit the bulk operation will be saved and the spreadsheet can be viewed by clicking the here link in the pop up. Skip ahead to the Update Spreadsheet section.
Advanced path
1. Select the Google sheet to use for this bulk operation by clicking Select File.
2. Select the sheet from the select a file pop up window, then click Select.
3. After the sheet has been selected, click Next.
5. The final step allows you to review your configuration choices. Select whether you'd like to send email notifications on completion. You can add users to notify by entering their name in the text box, selecting the user, and then click the + icon. If you don't want to send email notifications on completion, uncheck this checkbox.
6. After you're done reviewing click Submit to run this bulk operation.
7. After clicking submit the bulk operation will be saved and a pop up will appear notifying you that the operation is running.
Update the spreadsheet
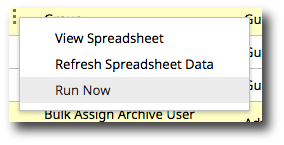
Once you have setup the import, it will appear in the list of Bulk Imports. Select the import, click the three vertical dots, then click View Spreadsheet.
This will open your customized Google Sheet template in a new browser tab. The Sheet will contain the groups and columns you selected during the setup step. The first column, User Email, is required for the import and must not be edited.
Important! If the User Email column is changed, the import will fail for all changes to that user.

The remaining columns can all be modified and are described below:
Important! To update addresses as formatted addresses, a format template can be used.
The format to be used is below:
poBox::
streetAddress::
extendedAddress::
locality::
region::
postalCode::
country::
You can copy and paste the above format into the spreadsheet cell you wish to modify. Individual fields in the template can be left blank if they are not needed. For example, to update a shared contact home address to be "123 Main St. New York, NY", paste the following into the Home Address column:
poBox::
streetAddress::123 Main St.
extendedAddress::
locality::New York
region::NY
postalCode::
country::
Clearing fields
If you want to clear a field, put the keyword CLEAR in the cell. If a field has multiple entries this will only clear the first one.
If a certain field has multiple entries, such as address or work email address, and you want to clear all of them, put the keywords CLEAR ALL in the cell. Both of these fields are CASE SENSITIVE.
Run operation
1. Once you have made the desired changes to the user profiles in the spreadsheet, select the import, click the three vertical dots, then click Run Now.
2. A review screen will appear listing the first five rows of the spreadsheet to be used for the import. Click the Import Now button at the bottom of the screen to begin the import. The import will run and will make any necessary updates to the users that are listed in the spreadsheet.