Overview
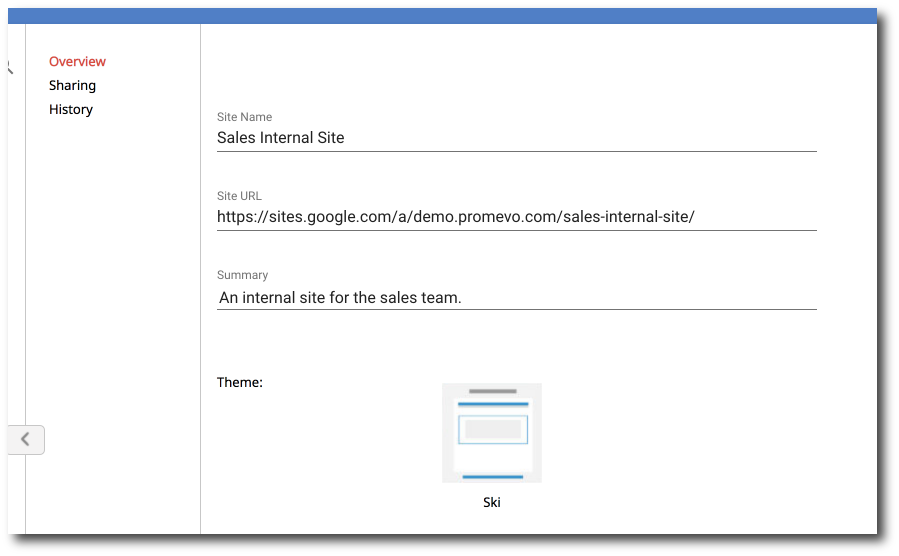
The following information can be edited from the Overview section.
-
Site Name
-
Summary
-
Theme
You can also view the Site URL, but this is not an editable field.
Enter your desired updates. Once you've made your changes, click Save. If you want to cancel the changes you've made, click Discard Changes.
Sharing
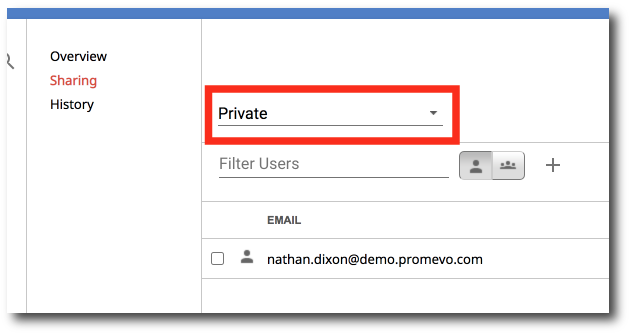
This section is where you can share a site with other users or change the site's visibility level.
Change a site's visibility
Select the dropdown at the top of the page to change the site's visibility. You can select from the following options:
-
Private: If you want to share the site to specific users or groups, select this option. When you add shares to the site, only those specific shares can find and access the site.
-
Anyone on your domain: If you want to share the site to anyone in your domain, select this option. When you make a site visible to your domain, only users in your domain can find and access the site. If you select this option, you can choose if these user(s) can edit or can view the site.
-
Public on the Web: If you want to share the site to the public, select this option. When you make a site public, any one on the internet can find and access the site, no sign-in required. If you select this option, you can choose if these user(s) can edit or can view the site.
Once you've made your desired changes, click Save. If you want to cancel the changes you've made, click Discard Changes.
Add shares
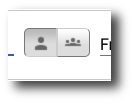
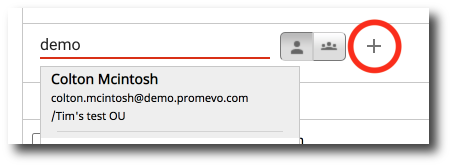
1. Select whether you'd like to add a User or Group by selecting the icon next to the search bar.
2. Enter the email address of the user or group in the search bar. A list will appear of options, select the desired user or group. Then click the Add icon.
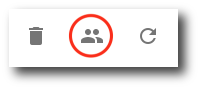
Remove shares
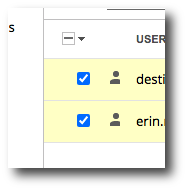
1. Select who you would like to delete by checking the box next to their email. They will be highlighted with yellow when selected.
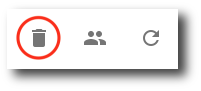
2. Click the Delete icon.
3. A confirmation popup will appear. Confirm that you want to delete the users and click Remove.
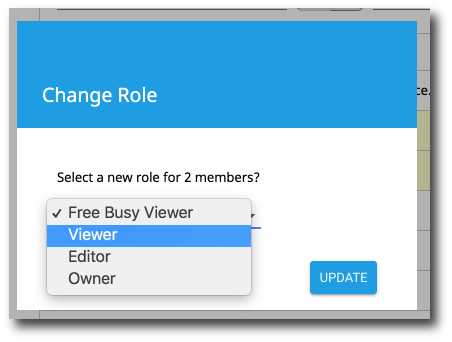
Change roles
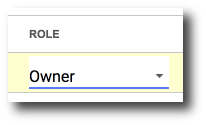
1. To change the role of an individual member, select the new role from the dropdown next to their email.
2. To change the role of multiple members, select the members by checking the box next to their email. They will be highlighted with yellow when selected.
3. Click Change Roles.
4. In the popup, select the new role you would like the members to have from the dropdown.
5. Click Update.
History
The history section allows you to view, filter, and export logs of actions taken on the selected site. Please notes that these logs are actions taken in gPanel. For example, you can run a search to see which users have removed shares, updated visibility, etc.
The default settings are set to view all actions taken on the site today. If you'd like to change the filters, follow the instructions below.
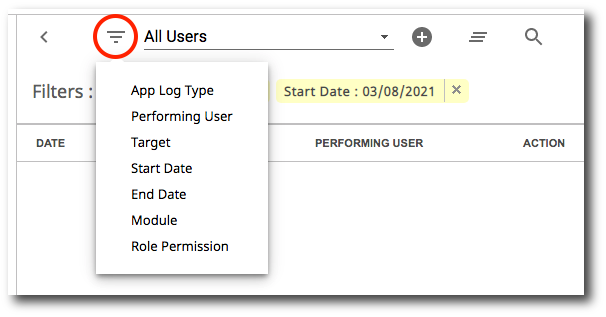
1. Click Select Filter Type.
2. A list of filter types will appear. Select the type of filter you wish to use.
-
App Log Type: Type of application log to pull/query
-
Performing User: Search for the user that performed the action(s)
-
Target: The item in which the action was taken on, in this case it would be the calendar you are viewing
-
Start Date: The day the action began/occurred, or the beginning of the time frame chosen
-
End Date: The day the action ended, or end of the time frame chosen
-
Module: The module of gPanel you would like to search for a log in
-
Role Permission: Search based on specific admin permissions for actions applicable to them
3. For each filter type, there are different parameters that you can set. For example, if you select the Start Date filter type, select the start date from the calendar drop-down.
4. Once you add a filter type and parameter, click Add. The filter will then be displayed in the filter list.
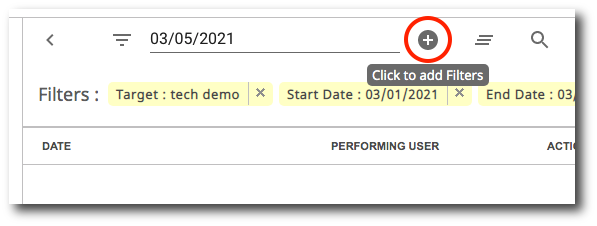
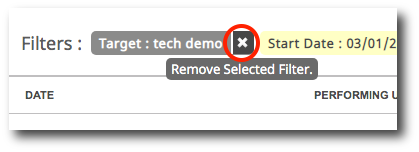
To remove a filter, click the X next to it.
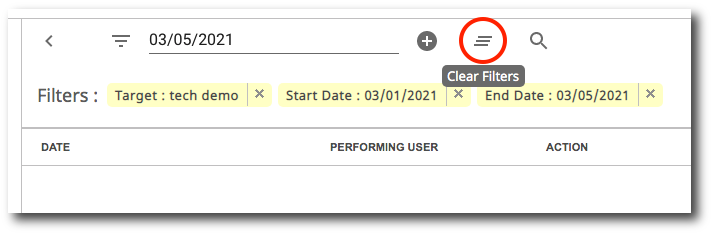
To clear all filters, click the Clear icon.
5. Once you have entered all your desired search filters, click the Search icon. The results will be displayed in the table below the search bar.

To export the results to a Google Sheet in your Drive, click Export Results in the right corner.