Contents
1. Click on the group you wish to edit.
2. Next, select from one of the following sections by clicking on it from the sidebar menu. An explanation of each section is below.

3. Make your desired changes, and click Save to save the changes.
General Information
This section is where you can edit general information about the group from the following options:
-
Group Name: The name of the group
-
Group Email Address: The email address of the group
-
Group Description: A description of the group
Business Group Settings
General Information
-
Group's Primary Language: This is the language emails from the Google groups service will be sent in.
-
Posting Options: Checking the box allows users to post to the group on the web.
Directory
This section is where you can change how and where the group is listed.
-
Global Address List - Include this group in Global Address Lists: This option includes the group in your Google Workspace Global Address List. When included in the list, the group becomes available to Google Workspace Sync for Microsoft Outlook users.
Content Control
This section is where you can change how the group is archived.
-
Archive Options - Archive messages to the group: When this option is unchecked, messages sent to the group will not be archived. Previously received messages will remain archived. Only archived messages are visible through the web interface.
Settings
This section is where you can change various settings for the group.
-
Can Post as Group: Check this box to allow members to post as the group
-
Moderate Messages: Select whether or not to moderate group messages by members or non-members
-
Rejected Author Notification: Check this box to notify authors when moderators reject their posts.
-
If this box is checked, enter a default message to send to authors of rejected posts
-
-
Spam Messages: Select how spam messages should be handled
-
Send them to the moderation queue and send notification to moderators
-
Send them to the moderation queue, but do not send notification to moderators
-
Immediately reject them
-
Skip the moderation queue and send to the group
-
-
Post Replies: Select how replies to posts can be sent
-
To the entire group
-
To the author of the message only
-
To the owners of the group
-
To the managers of the group
-
Users decide where their replies are sent
-
Use a custom email address to send replies to. If you choose this option, you need to enter in the email address in the field below the drop down list
-
Permissions
This section is where you can change the various permissions for the group.
-
View Topics: Select which users can view topics in this group
-
Post: Select which users can post messages to the forum
-
View Members: Select which users can view the forum membership list
-
Invite Members: Select which users can invite other users to become a member
-
Anyone in the organization - Anyone in the organization can add themselves to the group directly
-
Anyone in the organization can ask - Anyone in the organization must ask and then be approved before they can join the group
-
Only invited users - People can join the group only if they're invited
-
-
Join the Group: Check this box to allow users not in the organization to join
-
Who Can Moderate Members: Select which users can add and remove group members
-
Who Can Moderate Content: Select which users can approve, delete, and lock messages and/or conversations
-
Who Can Assist Content
Advanced
This section allows you to disable the group. To disable the group, click Disable Group. Next, confirm your selection and click Disable.
Note: If you disable the group, all new posts to the group will be rejected. Existing messages are viewable and searchable online by anyone that already has the permission to view the group's content. If the group is re-enabled, the setting for "Who can post messages" will automatically be set to "Managers" and "Owners" only.
Add a new member
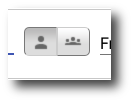
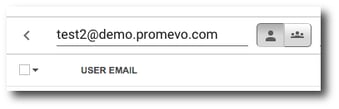
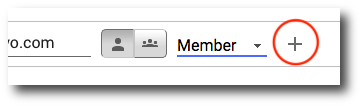
1. Select whether you'd like to add a User or Group by selecting the icon next to the search bar.
2. Enter the email address of the user or group in the search bar. A list will appear of options, select the desired user or group.
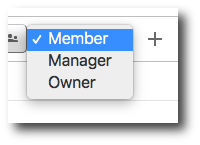
3. Choose the new member's group role from the drop-down menu.
-
Owner: Has full permissions to modify the group
-
Manager: Has the same permissions as owner, except being able to make another member an owner and deleting the group
-
Member: A member's permissions can vary depending on the settings
4. Click the Add icon.
Bulk add members
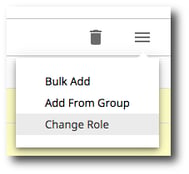
1. Click the Actions button, then click Bulk Add.

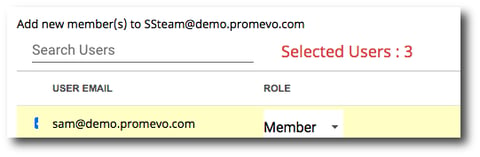
2. In the Search Users field, begin typing the user's email you wish to add. The list will populate with potential members. Select the user(s) you wish to add and select their role. As you add members, the red Selected Users text will increment to match the total number of new members you are adding.
3. When you are finished, click Add to add the select users to the group.
Remove members
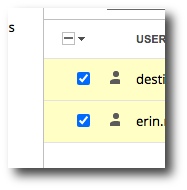
1. Select the member(s) you would like to delete by checking the box next to their email. They will be highlighted with yellow when selected.
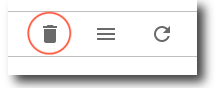
2. Click the Delete icon.
3. A confirmation popup will appear. Confirm that you want to delete the users and click Remove.
Change member roles
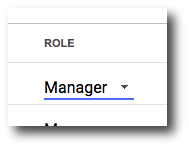
1. To change the role of an individual member, select the new role from the dropdown next to their email.
2. A confirmation popup will appear. Confirm that you want to change the role and click Confirm.
3. To change the role of multiple members, select the members by checking the box next to their email. They will be highlighted with yellow when selected.
4. Click the Actions button, then click Change Role.
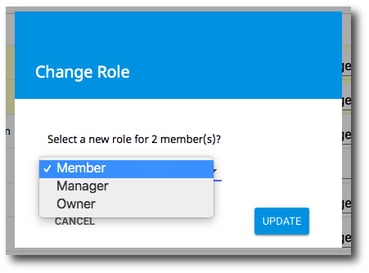
4. In the popup, select the new role you would like the members to have from the dropdown.
5. Click Update.
Add an alias
1. Type the alias into the Alias Address field.
2. Select the domain in the dropdown.
3. Click the + icon.

Remove an alias
1. Select the alias(es) you would like to delete by checking the box next to it. They will be highlighted with yellow when selected.
2. Click the Delete icon.
3. A confirmation popup will appear. Confirm that you want to delete the alias(es) and click Remove.
Run a search
1. To begin, click Select Filter Type.
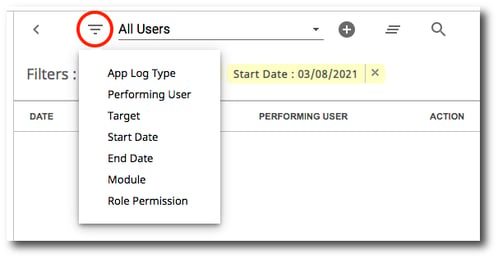
2. A list of filter types will appear. Select the type of filter you wish to use.
-
App Log Type: Type of application log to pull/query
-
Performing User: Search for the user that performed the action(s)
-
Target: The item in which the action was taken on, in this case it would be the group you are viewing
-
Start Date: The day the action began/occurred, or the beginning of the time frame chosen
-
End Date: The day the action ended, or end of the time frame chosen
-
Module: The module of gPanel you would like to search for a log in
-
Role Permission: Search based on specific admin permissions for actions applicable to them
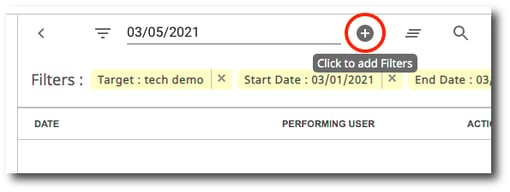
3. For each filter type, there are different parameters that you can set. For example, if you select the Start Date filter type, select the start date from the calendar drop-down.
4. Once you add a filter type and parameter, click Add. The filter will then be displayed in the filter list.
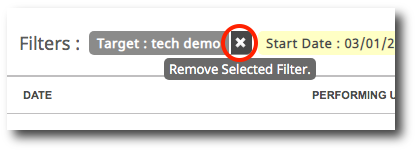
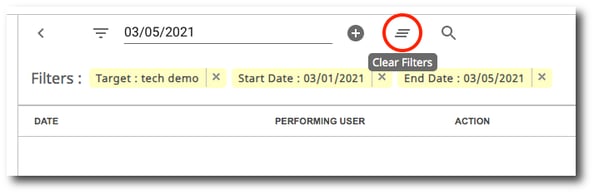
To remove a filter, click the X next to it.
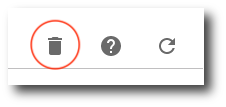
To clear all filters, click the Clear icon.
5. Once you have entered all your desired search filters, click the Search icon. The results will be displayed in the table below the search bar.
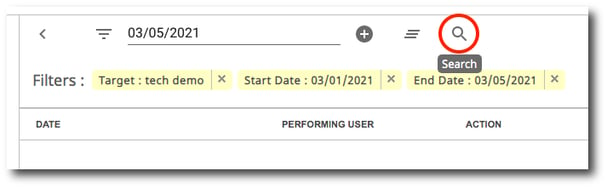
To export the results to a Google Sheet in your Drive, click Export Results in the right corner.