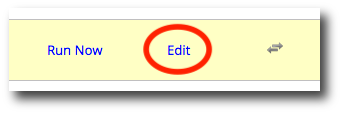
1. Hover over the contact sync you wish to edit from the list of all contact syncs. Then click Edit.
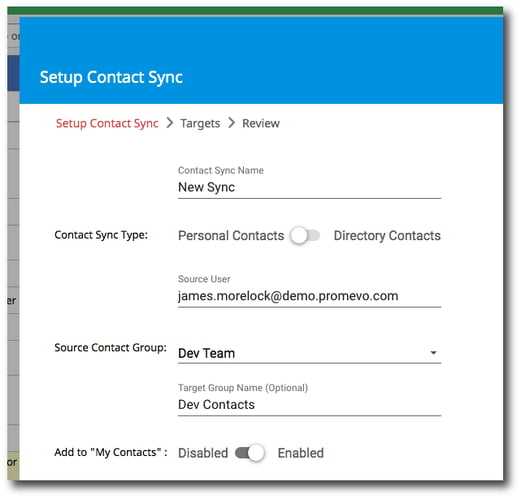
2. Make any changes on the first screen. Once you've made your desired changes, click Next.
Here's an overview of each field:
-
Name: This name is what you will see listed in the contact sync menu of gPanel.
-
Sync Type
-
This will create a sync from a set of personal contacts from the source users account.
-
This will create a sync from the directory contacts from the source domain.
-
-
Source User: This is the user who's set of contacts will be synced to other users. This use will be able to add, edit, and delete contacts that being synced through their Google contacts.
-
Source Contact Group: This will be the group of contacts that will be synced to the destination users. Contact groups are created in a user's personal contacts. It is important to note that contact groups are not the same as Google groups. (Note: You can only select a source contact group if you have a source user selected.)
-
(Optional) Target Group Name: This is the name of the contact group that the target users will see in their contacts. By default, it will be the same as the source contact group.
-
(Optional) Add to "My Contacts": This will add the contacts to both the target contact group and the target user's "My Contacts." (Note: If you are creating this sync for users that are using Outlook Sync with Google Workspace, you will need to enable this option.)
-
Nightly Run: This option allows you to choose if you want the contact sync to run every night. If you want to manually run the contact sync, leave it disabled.
-
(Optional) Description: This is an optional field that allows you to add notes or description of the sync.
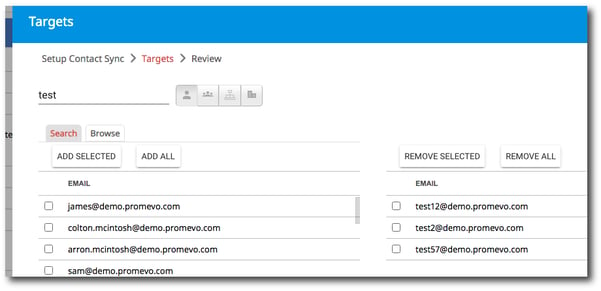
3. On this step, you can add or remove source (directory sync only) or destination users.
To add another user: Type the desired user, group, org unit, or domain in the search box and a list will appear. Click either Add All to add the entire list or Add Selected to pick and choose specific line items.
To delete a user: Click Remove All to remove all destination users or click the check box next to the users to be removed and click Remove Selected.
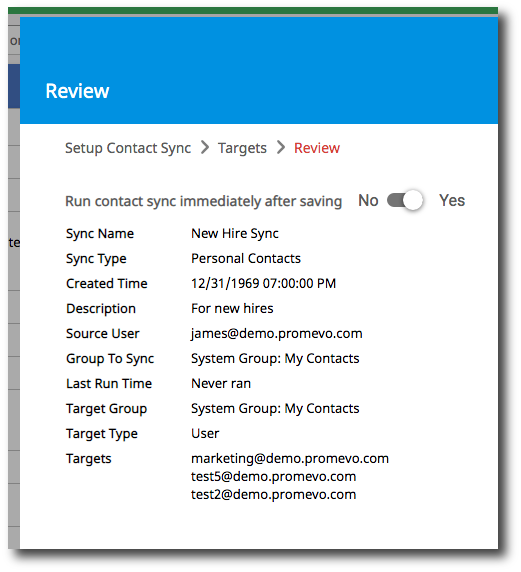
4. The final step allows you to review your configuration choices. Select whether you'd like to run the contact sync immediately after you save it. By default this will be set to yes.
5. After you're done reviewing, click Submit to update the contact sync.